How to Integrate Shopify and Sendlane
Last updated: June 5, 2025
Overview
Shopify is a complete eCommerce platform that enables you to start, grow, and manage an eCommerce business.
By integrating your Shopify store with Sendlane, you can gain insights from your customers' behavior and purchase history and use those insights to develop targeted email campaigns and automation funnels, create highly targeted audiences with segments, and more!
Read on to learn how to connect your Shopify store and Sendlane account!
Shopify integration installation
If you are an agency user installing Shopify, you must create a user in the target account to complete the integration process with
Agency users often run into infinite loops when trying to install Shopify.
To avoid this, create a user in the account you want to integrate with Shopify (use plus addressing to use your own email address for this new account), then follow the instructions in this article to complete the Shopify integration, logging into the new user account when you are redirected from Shopify.
Sendlane will import contacts with ANY Shopify activity in the past 12 months; new and existing customer activity will begin syncing automatically
If you have imported contacts into Shopify in the past 12 months, those contacts will be included even if they have not purchased a product or had any other activity in the past 12 months.
Customer activity will update existing Sendlane contact records and create new Sendlane contact records for new customers.
If you are on a free trial, do not integrate with Shopify
Upgrade your free trial to a paid plan before integrating with Shopify to avoid syncing issues.
Step One: Log out of Sendlane
To ensure your integration connects correctly, log out of Sendlane before moving on to the next step. If you do not log out of Sendlane, you will likely run into issues requiring you to delete your progress and restart the integration process.
Step Two: Install the Sendlane app in Shopify
Log in to Shopify
Click the search bar at the top of the screen
In the search bar, click Apps
Enter Sendlane
Click the Sendlane app
Click Install
Step Three: Log in to Sendlane
After clicking install on the Sendlane app in your Shopify store, you will be redirected to the Sendlane create account page. You should see your Shopify store's name in the URL of the page. Click the Login button at the bottom of the screen, then log in to Sendlane.
Step Four: Configure Shopify settings in Sendlane
When you log in to Sendlane, you will be redirected to your Shopify integration's settings for configuration:
If you'd like to automatically remove customers from the abandoned cart list once they've made a purchase, check the optional checkbox
Select an address type to assign to contacts
Default will bring in the address marked as the contact's default address in Shopify
Click Finalize Installation
Step Five: Finalize and sync integration
Your integration may take a few seconds or minutes to sync. To complete the final sync manually instead of waiting:
In the Actions column, click the resync icon, after which you may see your integration status say Syncing
Refresh the page to see your integration status say Completed
Navigate to the contacts page to check that customer profiles have synced from Shopify
Create a segment with a Product filter to check that products have synced from Shopify
Your Shopify integration is now complete!
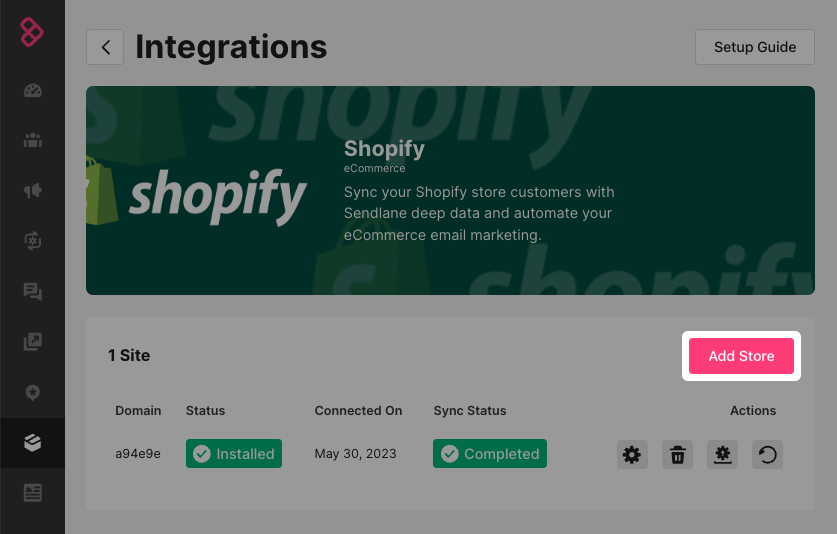
How do I connect multiple stores?
To add more than one Shopify store, click Add Store and repeat the steps above!
Next steps
Troubleshooting
My status is stuck at pending, and I'm getting an error that says, "Are you sure you want to install this integration?"
This error means that your integration's lists have not been assigned. To fix the error:
Click the Settings icon
Select lists for any of the five categories without an assigned list
Click Continue
My status is stuck at pending!
If your Shopify integration status is stuck at Pending, ensure that all lists have been assigned in the Shopify integration's settings.
If all lists have been assigned, the connection between Sendlane and Shopify may have been interrupted during the integration process. If this happens, you'll need to delete the Shopify integration in Sendlane and the Sendlane app in Shopify. You must delete both in order to be able to complete the integration process again.
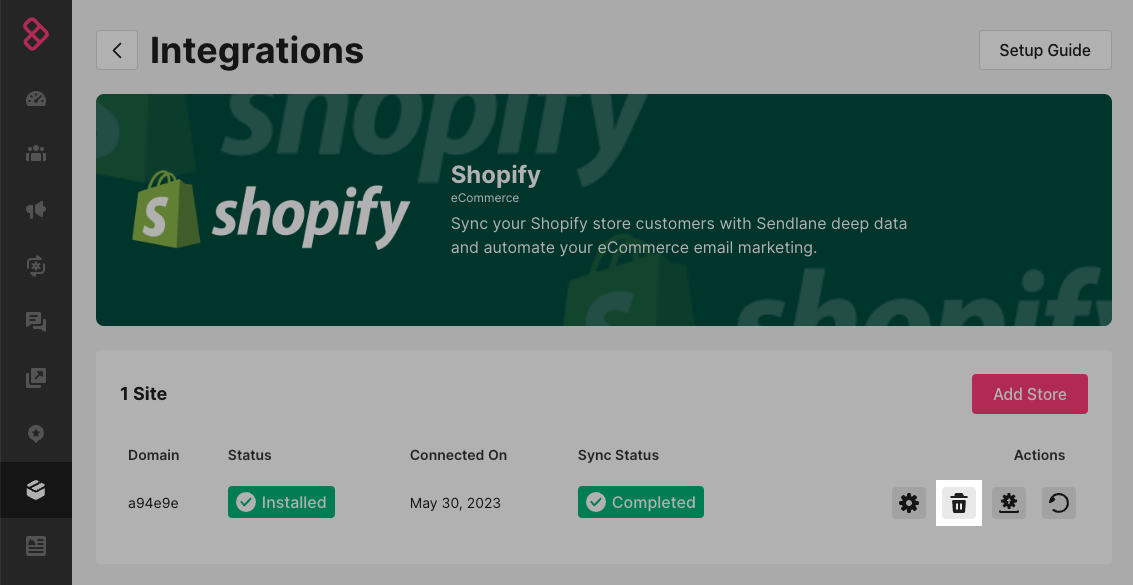
Delete the existing Shopify integration that is stuck at Pending by clicking the trash can icon:
Delete the Sendlane app in Shopify:
Click Settings
Click Apps and sales channels
Hover over Sendlane Marketing automation
Click Uninstall
Click Uninstall again

I don't see my Shopify customers in my Sendlane account
If you just completed the integration process, check back later. If you visit the Shopify integration page within your Sendlane account and see that the status still shows Initializing, Pending, or Syncing, some information or actions may not be available.
If you are on a free trial, you are limited in the number of contacts that can be synced over. Upgrade to a paid account, then click the Resync button in the Actions column of your Shopify integration.
When I try to connect my store, I get an error saying That Shopify account is already connected to another Sendlane account. Please uninstall from [domain] before proceeding.
This error means your Shopify store is already integrated with another Sendlane domain. To continue installing Shopify in the current domain, first uninstall it from the domain noted in the error message.