How to create and use custom fields
Last updated: March 18, 2025
Overview
Using custom fields, you can collect and record information about your contacts that can be used to segment your audience, run automations, and personalize your content.
Before Getting Started
To get the most out of Custom Fields, create a form to collect data from your contacts.
If a contact does not have data in a custom field, that contact will not be included in any actions that depend on the custom field and the field will appear blank for that contact.
Custom Fields cannot be deleted
Be cautious when creating custom fields!
Custom fields cannot be deleted from your Sendlane account once they are created.
Custom Fields are not HIPAA compliant
Do not use custom fields to store personal health information.
Create custom fields
Create custom fields in the Sendlane app or while importing Contacts.
Create a custom field In Sendlane
Click on the Audience icon in the left-hand menu bar
Click the Personalization tab
Click +Custom Field
Enter a short, descriptive name for your custom field
Select a field type
Click Confirm to save your custom field
Create a custom field while importing contacts
Creating a custom field while importing contacts allows you to save the data from your import file to your contacts' profiles
Click on the Audience icon in the left-hand menu bar
Click the Lists tab
Select the List you are importing into
Click Import
Select your .CSV file
In the Field mapping & Import settings window, click the dropdown next to the column you’d like to create a Custom Field from
Select Create Custom Field
Enter a name for your Custom Field next to the dropdown
Click Import Contacts to import your Contacts and create your new Custom Field
Collecting data for custom fields
Collect custom field data in forms
Forms can collect custom field data from your contacts when they opt into your content.
Existing custom fields are in the custom field dropdowns for Form Fields and Option Selector blocks on the Design page of the form builder. You can create a new custom field from the Forms screen by clicking + Custom Field.
Collect custom field data using the Sendlane API
Check out Sendlane’s API documentation to learn how to use the POST method to update or add contacts with a custom field.
Edit data in custom fields
To edit the data in a custom field for a contact:
Open the contact sidebar or full client profile and locate the Personalization section
Click the Edit icon
Make your desired changes
Click the green checkmark to save
Using data from custom fields
Custom fields can be used to add personalization to emails and as powerful segmentation options.
Insert a custom field in an email
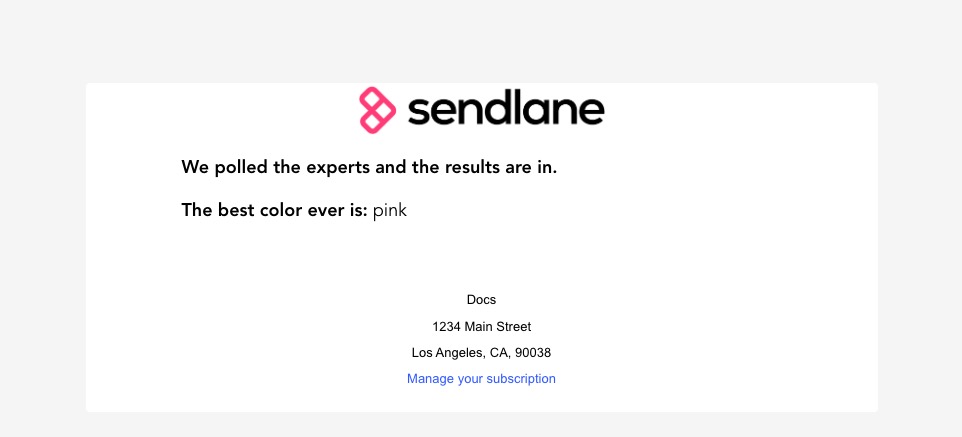
Custom Fields are a great way to personalize your campaign and automation emails! Custom fields can be used as personalization tags in any email:
Click into the email wherever you want your contacts' custom field data to appear
Click the three dot menu
Click the personalization icon
Click the Select Personalization dropdown
Click the Custom Field you want to insert
If contacts have data for the selected custom field, they'll see their data where the personalization tag was inserted:
Check out How to set a default value for a personalization tag for instructions on setting default values for contacts who do not have a value in the custom field you're using.
Trigger automations with custom fields
Select Custom field added as a trigger to start an automation when specified custom fields are set in a contact's profile.
Custom fields can also be used in conditional splits in automations. In the conditional split sidebar, select Custom Fields from the condition dropdown, then adjust your parameters for the split’s logic depending on your contacts’ custom field data.
Use custom fields to create segments
Segmenting by custom fields is a great way to target specific audiences to send to! You can create segments based on any custom field.
Troubleshooting
I don't see custom field data for a contact
Be sure the data point was collected in their contact profile! Without that information, the variable tag will not have anything to pull from.
Some custom fields, such as contact phone number, are not able to pull data when used in an email's subject line.
I don’t see custom field data in my test email
Custom field tags will not populate with custom field data in test emails.
To ensure that your email renders custom field data properly, make sure that the correct custom field code appears in your email.
How do I delete a custom field?
Custom fields cannot be deleted.