Understanding forms content options
Last updated: April 23, 2025
Overview
You can add images, text, collection fields, multiple choice fields, and buttons to forms.
Read on to learn about each available content block in forms!
Form fields
Available form fields include:
First name
Last name
Email
Phone number*
Any custom fields in your account
These fields will appear to website visitors as text fields on your form.
Custom fields set to date type will expand a date picker when clicked.
*When contacts provide consent to receive SMS messages via a form, consent to receive SMS messages from you is automatically applied to their contact profile, even if your Sendlane account does not have an SMS plan yet.
Add a form field
To add a form field:
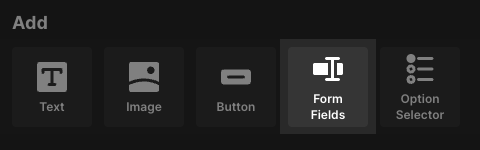
If your form page does not already have a Form Field content block, click Form Fields in the Add block section
Click the Form Fields dropdown
Click the Add Field dropdown
Click the field you'd like to add to your form

Make form fields required
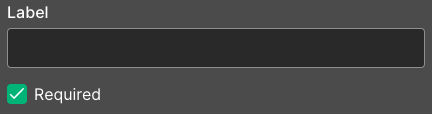
All form fields can be set to required by checking the Required checkbox.
The email field is hard required on email form pages and the phone field is hard required on SMS form pages.
Website visitors who only provide consent for transactional messages must still reply Y to the confirmation message if double opt-in is enabled. Learn more about double-opt in in Understanding forms audience, opt-in, and display logic settings.
Add legal text to email form fields
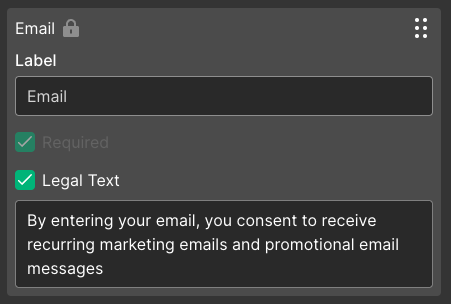
The email field has an optional checkbox for legal text.
When enabled, a message informing website visitors that they are providing consent to receive marketing material by submitting the form will appear under the email field.
You can edit the text to match your brand's existing consent guidance.
Rearrange form fields
Only one form fields block is allowed per form.
Use the drag and drop icon to rearrange the form fields’ order:
Images
Use the image block to add images to your form, such as a logo or product picture.
The image block supports .JPEG, .PNG, .GIF, and .WEBP files (.WEBP files are converted to .JPEG when uploaded to Sendlane).
Add an image block
To add an image block:
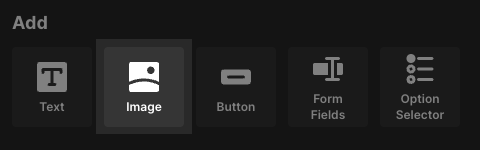
Click the image icon
Use the Upload Type radio buttons to select file or URL
Use the file selector to select your image file or paste your image's URL
Adjust an image's size, alignment, corner radius, and margins
Use the controls below the image preview to adjust your image's size, alignment, corner radius, and margins.

Add an image to one side of the form
You can add an image to one side of your form content (desktop only) by selecting a split layout in the global styles tab.
Text
Use the text block to insert text into your form, such as an attention grabbing headline, a call to action, instructions, or other relevant information.
Try to keep text on forms concise and to the point so that website visitors aren’t dissuaded from signing up for your content by having to spend too much time reading.
Dynamic content, personalization tags, coupon codes, and custom data cannot be rendered in text blocks.
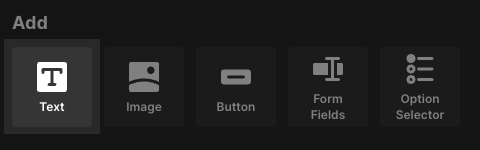
To add a text block, click the text Text icon:
Option selector
Use the option selector block to insert a question or survey with multiple answer options.
The option selector is a great way to collect standardized data from your contacts and helps avoid the pitfalls of text field submissions differing slightly in spelling or composition (e.g., “blue,” “Blue,” and “blu” answers to “What is your favorite color?”)
Option selector blocks must be used with an email or phone field in order to save data to contact Profiles
Without an email address or phone number to associate with a form submission, data from an option selector block will be lost.
Only one option selector block is allowed per form
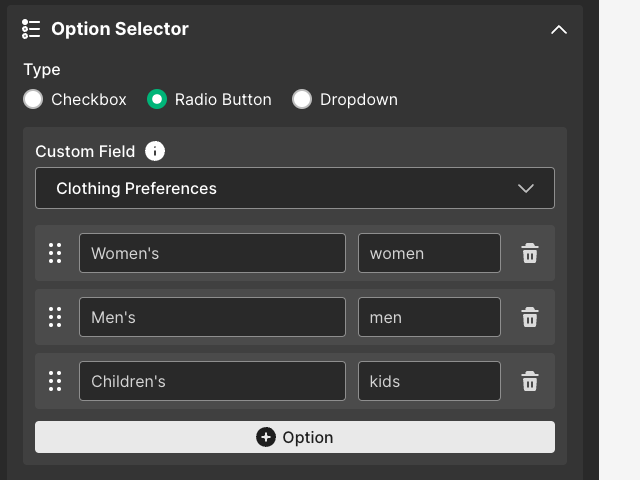
The following collection options are available for option selector blocks:
Checkbox - Allow contacts to select multiple options
Radio Button - Display all options and allow contacts to select one only
Dropdown - Allow contacts to select one option from a dropdown
In the Option # fields, enter the option as you want it to appear to website visitors. In the Property fields, enter the option as you want it to appear in contacts’ profiles.
For example, let’s say you want to collect your contacts’ clothing preferences. You could set up your option block like:
Option # | Property |
Women’s | women |
Men’s | men |
Children’s | kids |
so that the more colloquial format is shown to website visitors but your data is compact and clean on the back end.
For more information on the option selector block, see How to collect personal preferences with forms.
Button
Use the button block to add a button to your form. The following actions are available for buttons:
Submit and go to next page - Submit data to Sendlane and go to the next page of the form
Submit and close form - Submit data to Sendlane and close form
Submit and go to URL - Submit data to Sendlane and go to a specified URL
Close Form
Go to URL
To add a button block:
Click the button block
Select an action
Enter the text you want to appear on the button in the Text field
Manage content blocks
Rearrange content blocks
To rearrange content blocks:
Click the block you want to move
Click the drag and drop icon
Drag the block where you want it to appear on your form
Release the block
Delete content blocks
To delete a content block:
Click the content block you want to delete
Click the trash can icon
Click OK