How to change forms’ activation status
Last updated: March 13, 2025
Overview
Forms can be published as soon as you’re finished creating them, saved as drafts to be activated later, or scheduled to activate for a specified period of time.
Read on to learn how to activate, draft, schedule, and pause forms.
Activate a form
When you set a form to “live,” it is activated and visible on your website if the code has already been installed.
Live forms will remain visible on your website unless you deactivate the form by setting it to draft status or scheduling an end date, or remove the form’s code from your website.
To activate a new form:
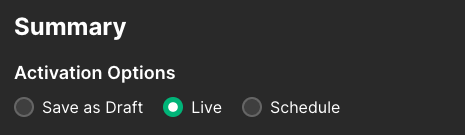
On the Summary page, under Activation Options, select the Live radio button
Click Done
To activate an existing form:
Click the Forms icon
In the Actions column, click the edit icon
Click Design
Click Summary
Under Activation Options, select the Live radio button
Click Done
Set a form to draft status
When you save a form as a draft, it is not activated and is not visible on your website if the code has already been installed.
To save a new form as a draft:
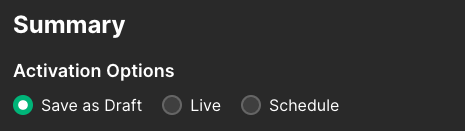
On the Summary page, under Activation Options, select the Save as Draft radio button
Click Done
To activate an existing form:
Click the Forms icon
In the Actions column, click the edit icon
Click Design
Click Summary
Under Activation Options, select the Live radio button
Click Done
Set a schedule for a form
When you set a schedule for a form, it is activated and will be visible on your website for the duration of the scheduled period if the code has already been installed.
To set a schedule for a new form:
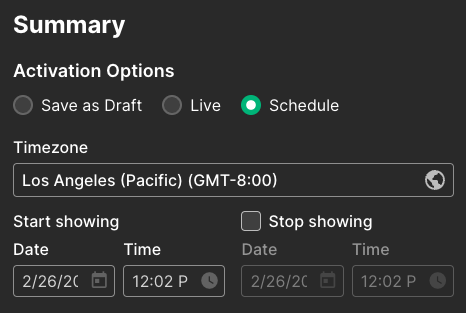
On the Summary page, under Activation Options, select the Schedule radio button
Select a time zone for your schedule
Under Start showing, set the date and time you want your form to start being visible on your website
If you’d like to set an end date for your form’s visibility schedule, click the Stop showing checkbox and set the date and time you want your form to stop being visible on your website
Click Schedule
To set a schedule for an existing form:
Click the Forms icon
In the Actions column, click the edit icon
Click Design
Click Summary
Under Activation Options, select the Save as Draft radio button
Select a time zone for your schedule
Under Start showing, set the date and time you want your form to start being visible on your website
If you’d like to set an end date for your form’s visibility schedule, click the Stop showing checkbox and set the date and time you want your form to stop being visible on your website
Click Schedule
Edit a form’s schedule
To edit a form’s existing schedule:
Click the Forms icon
In the Actions column, click the edit icon
Click Design
Click Summary
Make your desired changes to your form’s time zone, start showing date and time, or stop showing date and time
Click Schedule