How to A/B test email campaigns with experiments
Last updated: March 11, 2025
Overview
You can test up to 4 versions of a campaign email with different subjects, preheaders, and/or content to identify the email that performs best with a subset of your audience, then send the winner to the remainder of your audience.
Don't use Experiments and Machine Learning Open Predictability together
Because MLOP sends a campaign to each audience member at a different time, enabling MLOP while using Experiments means fewer contacts are available to interact with the campaign before a winner is chosen.
Step One: Campaign experiment settings
To turn on experiments for a campaign:
Open the campaign
Check the Experiments checkbox in the Advanced Settings section of the Settings & Content screen.
The Experiments settings will display when the checkbox is checked.
Components
Select which part(s) of your email you want to create variations for (subject, preheader, and/or content).
Test Audience
Select the percentage of the email's audience that should receive variations of your email before the winner is decided and sent to the remainder of the audience.
For example, let's say you leave your test audience at the default of 10%, and your audience contains 1,000 contacts. All email variations will be sent out to 100 of the contacts in your audience, and once the winner is determined, the winning email will be sent to the remaining 900 contacts.
Winning Version
Select the factor that determines the winning email (click rate, open rate, or revenue) and the number of hours to let the experiment run before sending the winning email to the rest of the audience.
Step Two: Create Multiple Email Variations
On the Content page, you'll see a column for the first version of your email and options to create a new version from scratch by clicking Blank Experiment or copying the original email by clicking Copy A.
Create or copy up to four versions, then click Next: Schedule to start your send!
Step Three: Review campaign Experiment Reporting
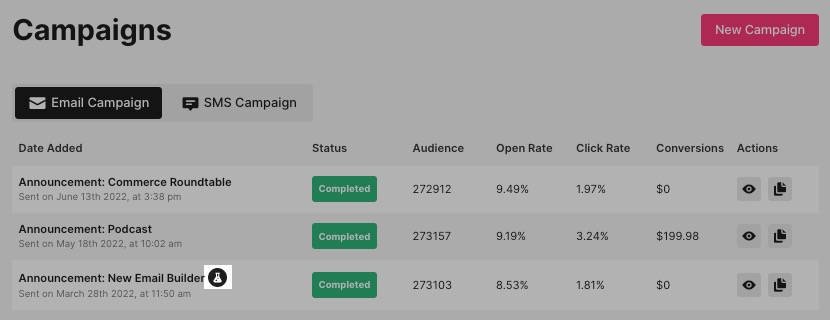
Identify campaigns that ran experiments by the experiment icon next to the campaign name
View the results of your campaign experiment on the right sidebar of the campaign report to see which variation performed the best based on the specified factor!
Open rate or click rate factors are determined by the highest number of clicks or opens.