Understanding the email builders
Last updated: March 12, 2025
Overview
Sendlane provides three email builders: a drag-and-drop MJML-based visual builder, a plain text builder, and a raw HTML builder.
This guide introduces you to all three and provides examples of when to use each.
When to use each email builder
If you want to... | Use the visual builder | Use the HTML builder | Use the text builder |
Create intricate emails that are visually appealing without having to write code | ✅ | ||
Use dynamic blocks like product, abandoned cart, review request, testimonial | ✅ | ||
Control anything about your email's footer | ✅ | ||
Have complete control over the entire email via custom code and are proficient in HTML and CSS | ✅ | ||
Create an email that is mostly plain text | ✅ |
Visual email builder
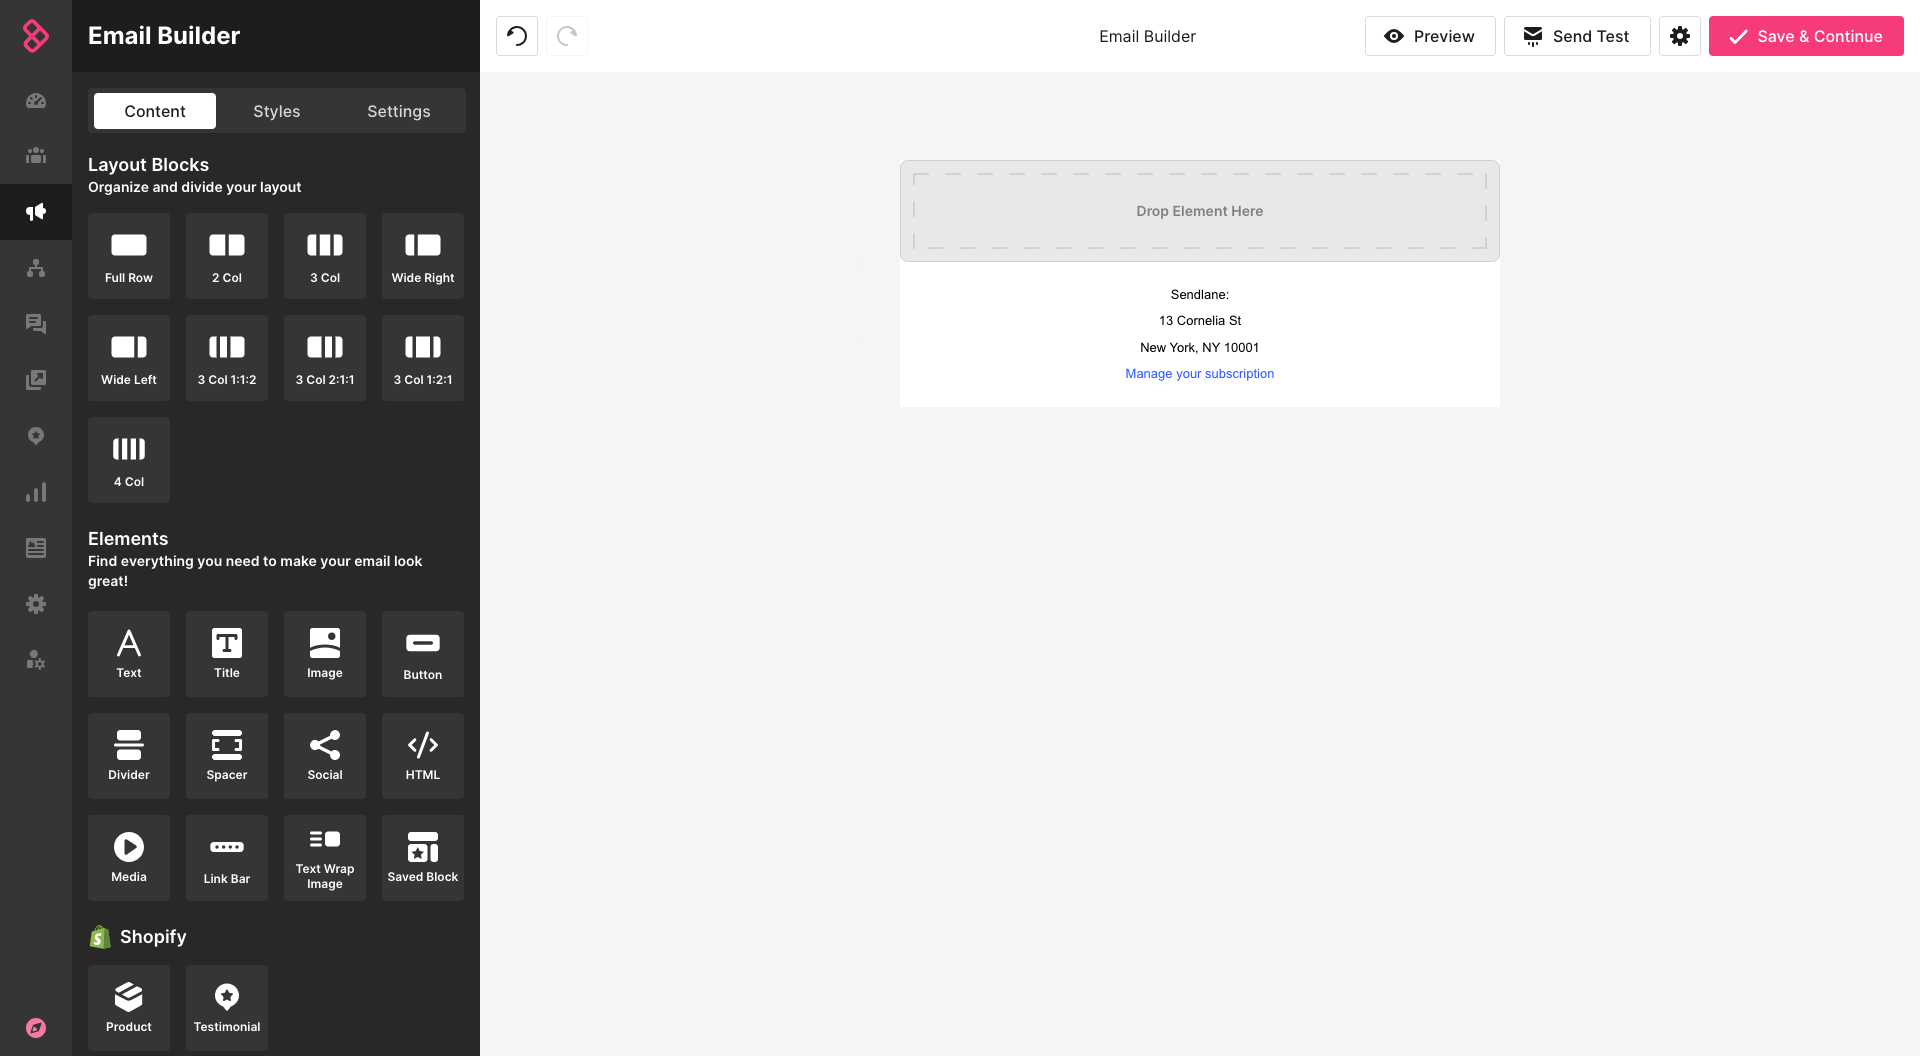
The visual builder is Sendlane's most powerful and frequently used email builder.
It features drag-and-drop layouts and elements that show you roughly what your email will look like in the inbox while you're building it, as well as advanced dynamic content blocks exclusive to the visual builder.
You can create emails in the visual builder using the campaign or automation builders or directly on the email templates page.
See details about the visual email builder in Understanding the visual email builder.
Learn how to build and send a campaign with the visual builder in How to send an email campaign.
Text email builder
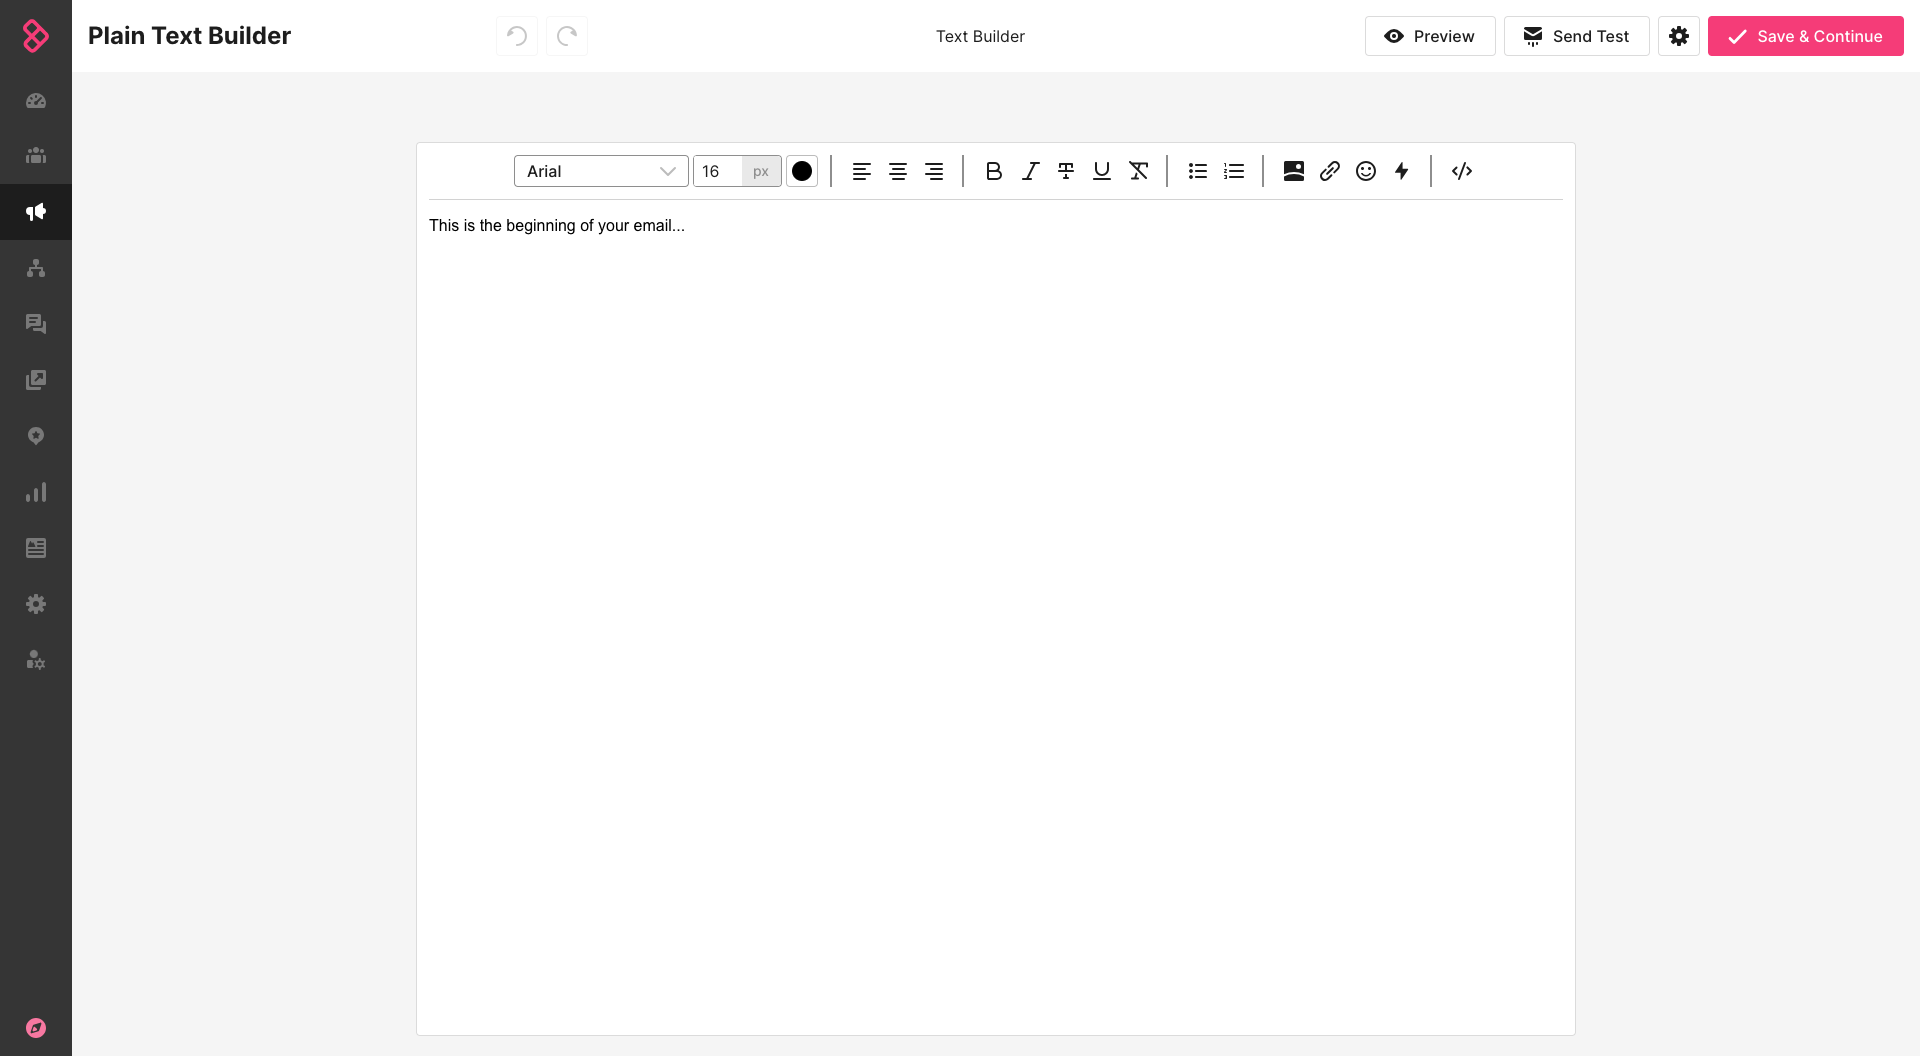
The text email builder is intended to create emails that are more personal than your usual marketing email, like messages from founders or leadership.
You can create emails in the visual builder using the campaign or automation builders. Text emails created in the campaign or automation builder can be saved as email templates, but text emails cannot be created directly on the email templates page.
See details about the text builder in How to send a plain text email.
HTML email builder
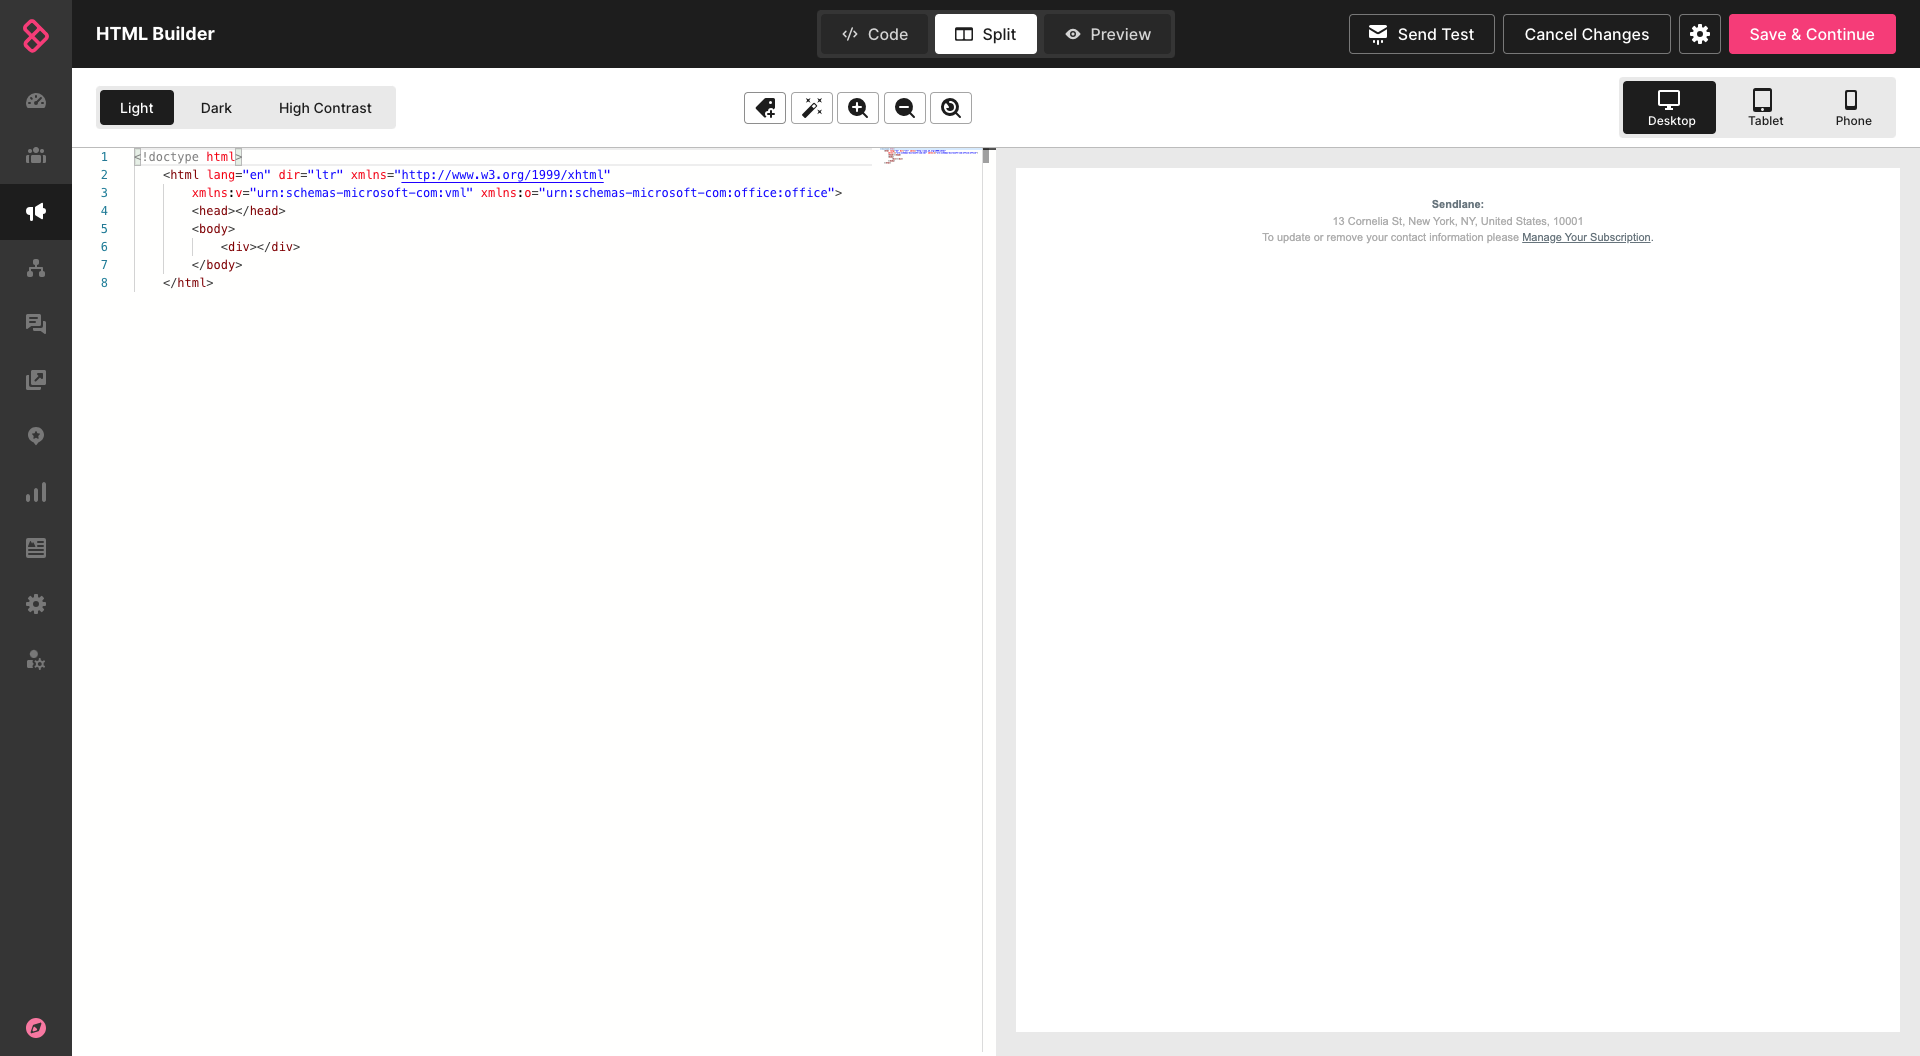
The HTML builder is intended for advanced users proficient in HTML and CSS and who want complete control over their email's look and feel.
You can create emails in the HTML builder using the campaign or automation builders. HTML emails created in the campaign or automation builder can be saved as email templates, but HTML emails cannot be created directly on the email templates page.