How to Integrate Convert Pro and Sendlane
Convert Pro is a WordPress plugin that provides an easy-to-use drag & drop editor to create high-converting opt-in forms.
Integrating Convert Pro and Sendlane enables you to funnel contacts captured by Convert Pro directly to your lists in Sendlane!
Before Getting Started
Prior to connecting with Sendlane, you'll need an active Convert Pro subscription with the plugin installed into WordPress.
Please also have your Sendlane API Key, Hash Key and Subdomain ready. These can be found in your Sendlane account under Account → API.
Last (but not least) be sure you have created a list inside of your Sendlane account, so Convert Pro knows where to place your new leads and contacts!
Connecting Convert Pro and Sendlane
- From your WordPress dashboard, navigate to Convert Pro and select Create New
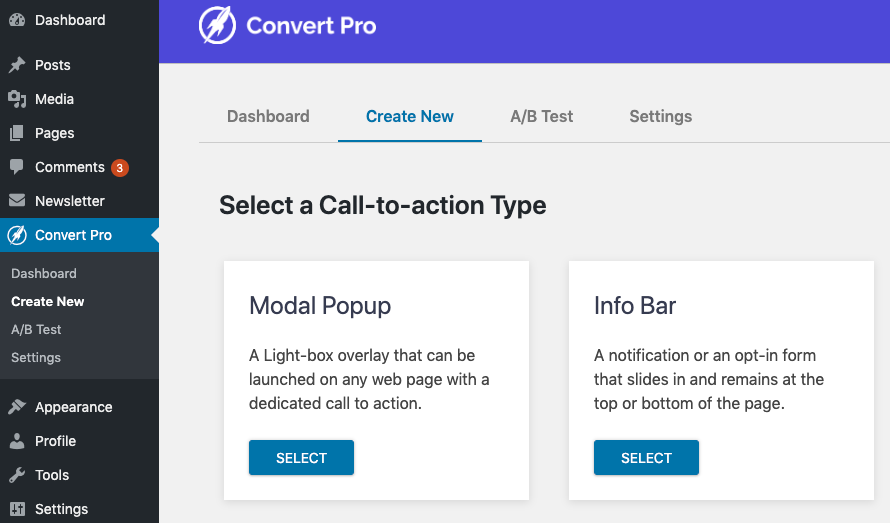
- Select your call-to-action type. For this demo, we'll select Modal Popup
- Select a template and name your popup
- You will be directed to the Pop Up editor. Click on Form and insert a field for emails
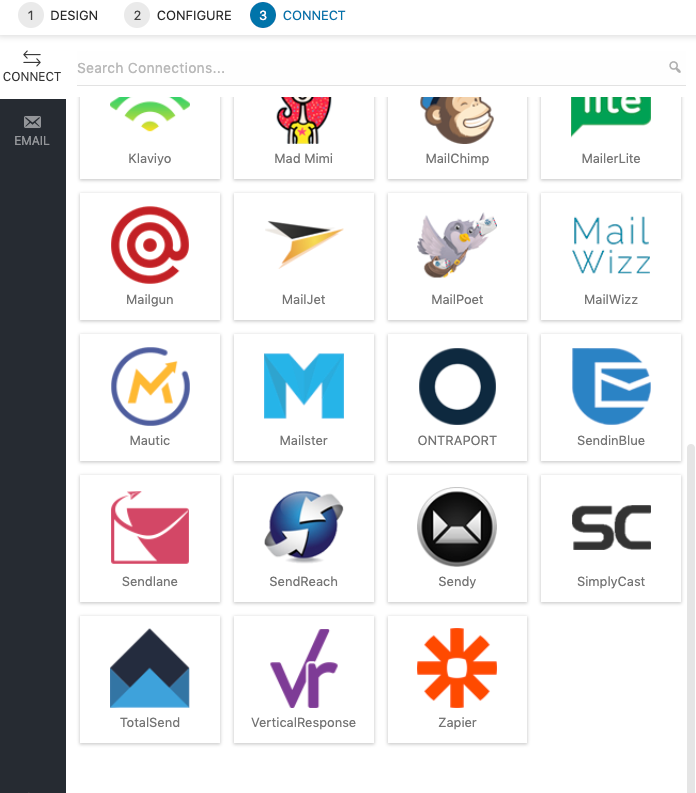
- Select 3. Connect from the top menu

- Select Sendlane from the list of applications
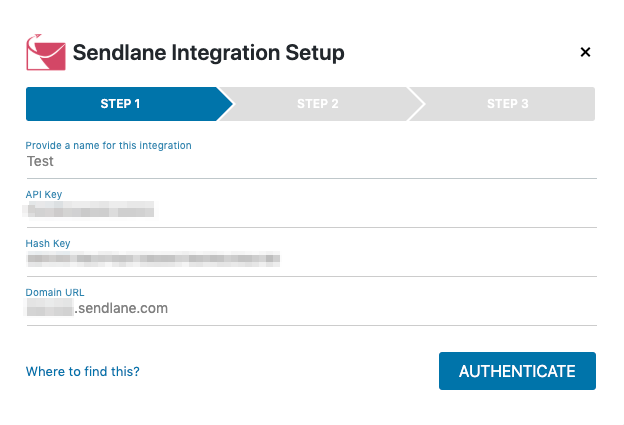
- Name your integration, enter your API/Hash keys as well as your Sendlane Subdomain, and click Authenticate
- Select the list you want the pop up to integrate with, as well as any tags you want assigned to your contacts
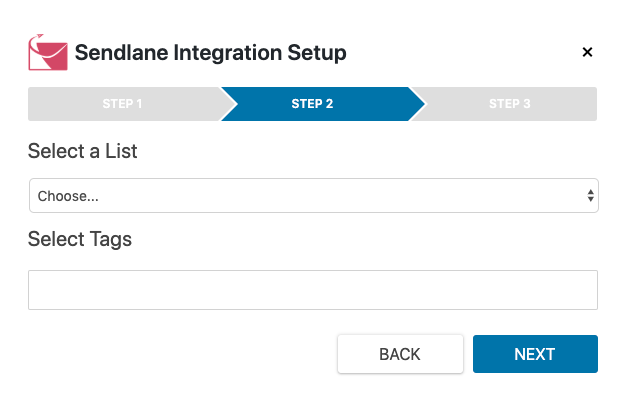
- Click Next, Save, and then toggle to make public at the top right of the page


Your Integration is now complete!
Captured contacts from your Convert Pro will now be synced with your selected list in Sendlane!
Troubleshooting
This integration is native to Convert Pro, so we're only able to provide limited troubleshooting support. However, if you do need help, the Convert Pro team is just a few clicks away!
- Connect with the Convert Pro team
- Submit a support ticket
Additional Convert Pro Resources
Sign Up for Convert Pro | Blog
Additional Sendlane Resources
- 6 Powerful Lead Magnets Proven to Engage and Capture Leads
- 4 Design Elements of Converting Landing Pages
TL;DR
Login to WordPress → Convert Pro → Create New → Select call-to-action type → Click Form and insert email field → Connect → Sendlane → Enter Subdomain / API / Hash → AUTHENTICATE → Select List/Tags → Next → Save → Toggle on